
Hello
Jodie with you today sharing my process for multi photo layouts.
What a Day

For this layout I have used the new collection from Uniquely Creative called


To create this layout start with Black cardstock as your base.
Then cut down the Championship papers x 2 (11.5' x 11.5') and adhere to the cardstock leaving a small border.

UCP2243 Championship
See pic below.

Then you are going to take the Engine Paper and cut the piece to 8' x 7'.
Be sure to cut the paper as shown in the picture below.
Cut at 8', then turn paper back around and trim down to 7'.

Take the piece and centre on your page, butting up to the right hand edge of the paper.
See pic below.
Centre this piece and butt up to the edge of the left hand side of the page.
See pic below.

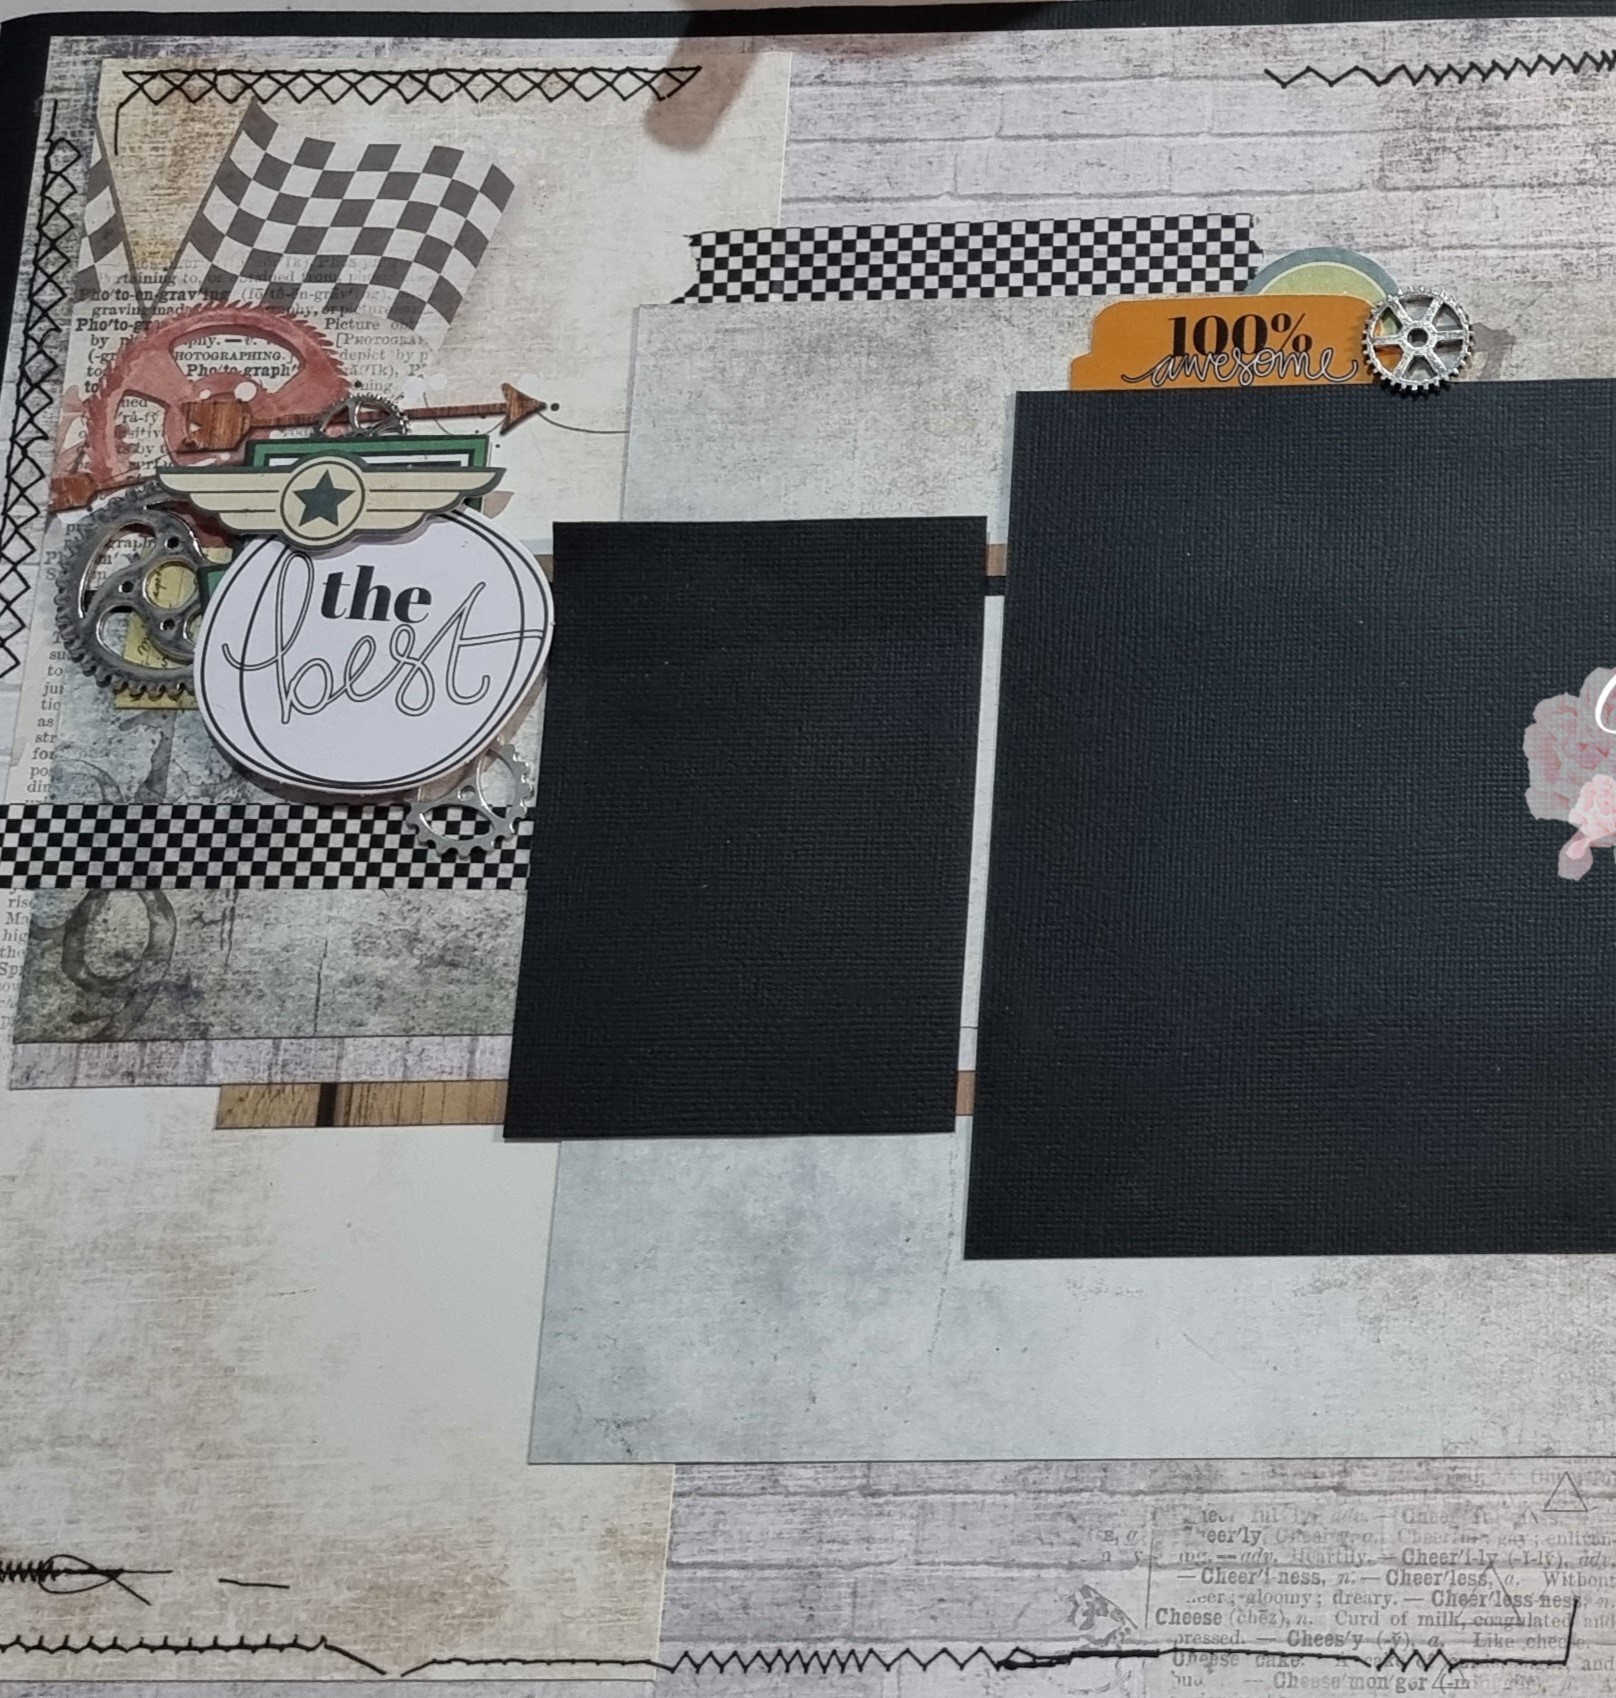
I also created some strips under the photo mats using the left over strips from the Engine paper.
I added the woodgrain strip using the Air Show paper.


Checker Washi Tape
I have used a combination of metal cogs, creative cuts and the cut a part sheet for the embellishment clusters.

Metal Cogs

UCP2249 - Drive & Fly Creative Cuts

Drive & Fly Cut-a-part Sheet

Here are some close ups of the embellishment clusters.


No comments:
Post a Comment