Good morning Chit
Chatters, Nicole here, this month the design team are showcasing different
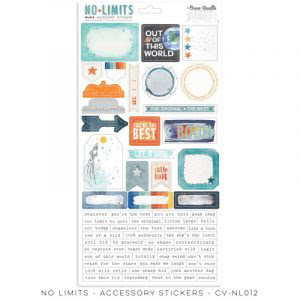
collections new to the store, and I was lucky enough to receive Cocoa Vanilla’s
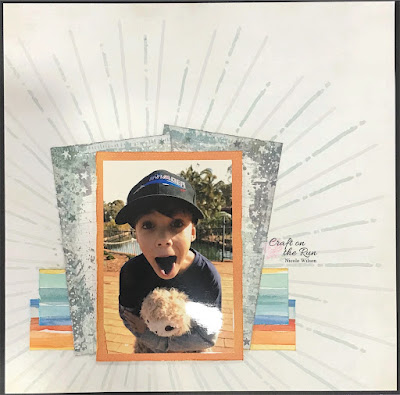
‘No Limits’ collection, which is perfect for my male dominated household. I
hope you will join me as I provide a step-by-step walk though of my layout.
I have
used the reverse side of Big Bang for my background, turned sideways, so that
the star is on the bottom left side, then I have used my craft knife to cut out the four layers of
stars.

From
the paper Latitude, I have cut two strips, measuring 7 ¾” x 1 ½” and 8 ¼” x 7
¾”, distressed and inked, the edges, then adhered them to the bottom left of
the page, overlapping them slightly.

Next,
I have cut a piece of Spark (reverse side) to 6 ½” high, then cut the left and
right sides 3 ¾” wide, (making the centre piece 4 ½” wide), then distressed and
inked the edges.
I have placed the two 3 ¾” pieces of Spark
(reverse side) on top of the paper strips, overlapping, on an angle.
Then I have matted my photo on the remaining 4 ½”
x 6 ½” piece (orange side) and adhered in the middle of my paper layers.
I have arranged the cut-out stars and a
selection of stickers on my layout (Tip. Cut embellishments such as tags/labels
in half to stretch your supplies)
After
adding the embellishments, I felt there was too much white space on the layout,
so I have added some extra interest with texture paste and a star stencil.
I didn’t
like the way texture paste turned out at the top of the page, so I wiped it off,
which resulted in a smudge mark (that you can see in the photo above if you
look closely). I decided to add a cut-file
title to cover this error and complete my page. (Note: I like to use Uniquely Creative's Fine Glue Pen for smaller cut files, with delicate lines, such as this one).

Thank you for joining
me today, and if you would like to use this bright and fun collection for your
next masculine project, you can find it by clicking the links below:
Until next time, happy crafting!


No comments:
Post a Comment