Thursday, 22 July 2021

Day by Day - Mintay

 Day by Day Together.


Hello There Chit Chatters

We all love Mintay Papers but often they are so stunning that
sometimes we dont know what to do with them,
so the Craft on the Run Design Team is here to help with how they
approach these collections so you have the confidence to use these papers.
As an added bonus and to encourage you to play along and give these tutorials a go
we are doing a Mintay Giveaway...
Create a project based on any of the tutorials and
share in the group/album telling us which tutorial you used
and you go in the draw to win some stunning Mintay Papers.
Your creations must be based on the Design Team tutorials.
And you must use any Mintay Collections
What do you think?
Want to give it a go?
If you are ready to share follow the link below and add your creation in the album.

Mintay Giveaway Album Link


Tuesday, 20 July 2021

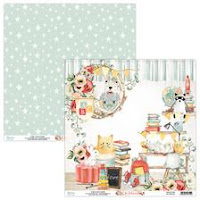
Craft on the Run - Using MIntay photo mat pages


Hi Everyone - Rosalie here and back using one of my favourite MIntay paper ranges - Childhood. 

One of the challenges people find with some papers, is what to do with photo mat papers. Often you end up with a couple of photo mats used and a left over piece of paper that you just don't know what to with. 

To help with some ideas, I have created a layout using the photo mat page from the Mintay Childhood range which uses all of the pieces in the photo mat paper in the layout and features 6 - 3x4 photos. 

This layout can be used for any of the  photo mat pages from the Mintay range

 I have used 3 pieces of the Mintay Childhood range and 1 piece of card stock (red). You can use any colour base card stock that  compliments the paper range. 


Start by trimming the centre out of the red card stock. I like to save these pieces for other layouts when I need to photo mats, however you don't need to if you prefer not to cut the centre's out. You wont be using this centre piece for this layout. 


Trim the blue and white star paper (B side) 1/4 inch from the top and right side. Adhere to the red cardstock as your base. You can distress edges if you want to. For this layout I didn't distress edges. 

Next, take your photo mat page and select 6 of the rectangles that you would like to use for your fussy cutting. I selected the ones with the backpack and larger pictures to fussy cut. The other 6 will become your photo mats. 


Fussy cut the 6 photo mats that you will use for your lay out. 


Stick the 6 photo mats to your base page using foam or chip board to give height. I have put a small piece of foam tape in the centre to start with as you will need to be able to slide your embellishments under when you are assembling. I have attached my 6 photo mats approximately 11/2 inch from the top and 13/4 from the left side. 


I have also fussy cut extra embellishment's from the fussy cut page. I have circled the ones that I have used however you can add as many as you like. 


Start to assemble your fussy cut pieces around your photo mats. The aim is to make sure that you have some pieces under the photo mats, so you can just see them and also raised up and slightly over your photos. If it helps, put your photos on and that will give an a guide of what parts of the photos will be covered by the fussy cutting. 


Add the remaining fussy cut pieces from the page. Again, you may want to have many of the pieces 'peeking' out from under the larger fussy cut pieces. It is also a good way to fill in some of the negative space. I have used foam tape to raise some of the smaller pieces such as the pencil and blue ball behind the scooter on the left. When you are happy stick every thing down including your photos. 


Finally - add some titles. I have added chipboard over the photos. I will also add  journaling later and will put that under the photos to the left side. 

I hope you have enjoyed my layout and would love to see some of your layouts using some or all of my ideas. 


Sunday, 18 July 2021

Mintay - Childhood

Hello Chit Chatters....

Ever wondered what to do with those pages in a collection that have the 12 cards on them, well here is a  quick little layout I did using Mintay Childhood collection.

Just to keep you all inspired for the Mintay month of July.


Stay tuned for the next creative adventure.


Friday, 16 July 2021

Mintay Lady Tutorial

Hi everyone. Jacquie Hay here with my very first DT post for Craft on the Run. 

We all love Mintay Papers but often they are so stunning that sometimes we don't know what to do with them, so the Craft on the Run Design Team is here to help with how you approach these collections so you have the confidence to use these papers.
As an added bonus and to encourage you to play along and give these tutorials a go we are doing a Mintay Giveaway...
Create a project based on any of the tutorials and share in the group/album telling us which tutorial you used and you go in the draw to win some stunning Mintay Papers.
Your creations must be based on the Design Team tutorials. And you must use any Mintay Collections
What do you think?
Want to give it a go?
If you are ready to share follow the link below and add your creation in the album.


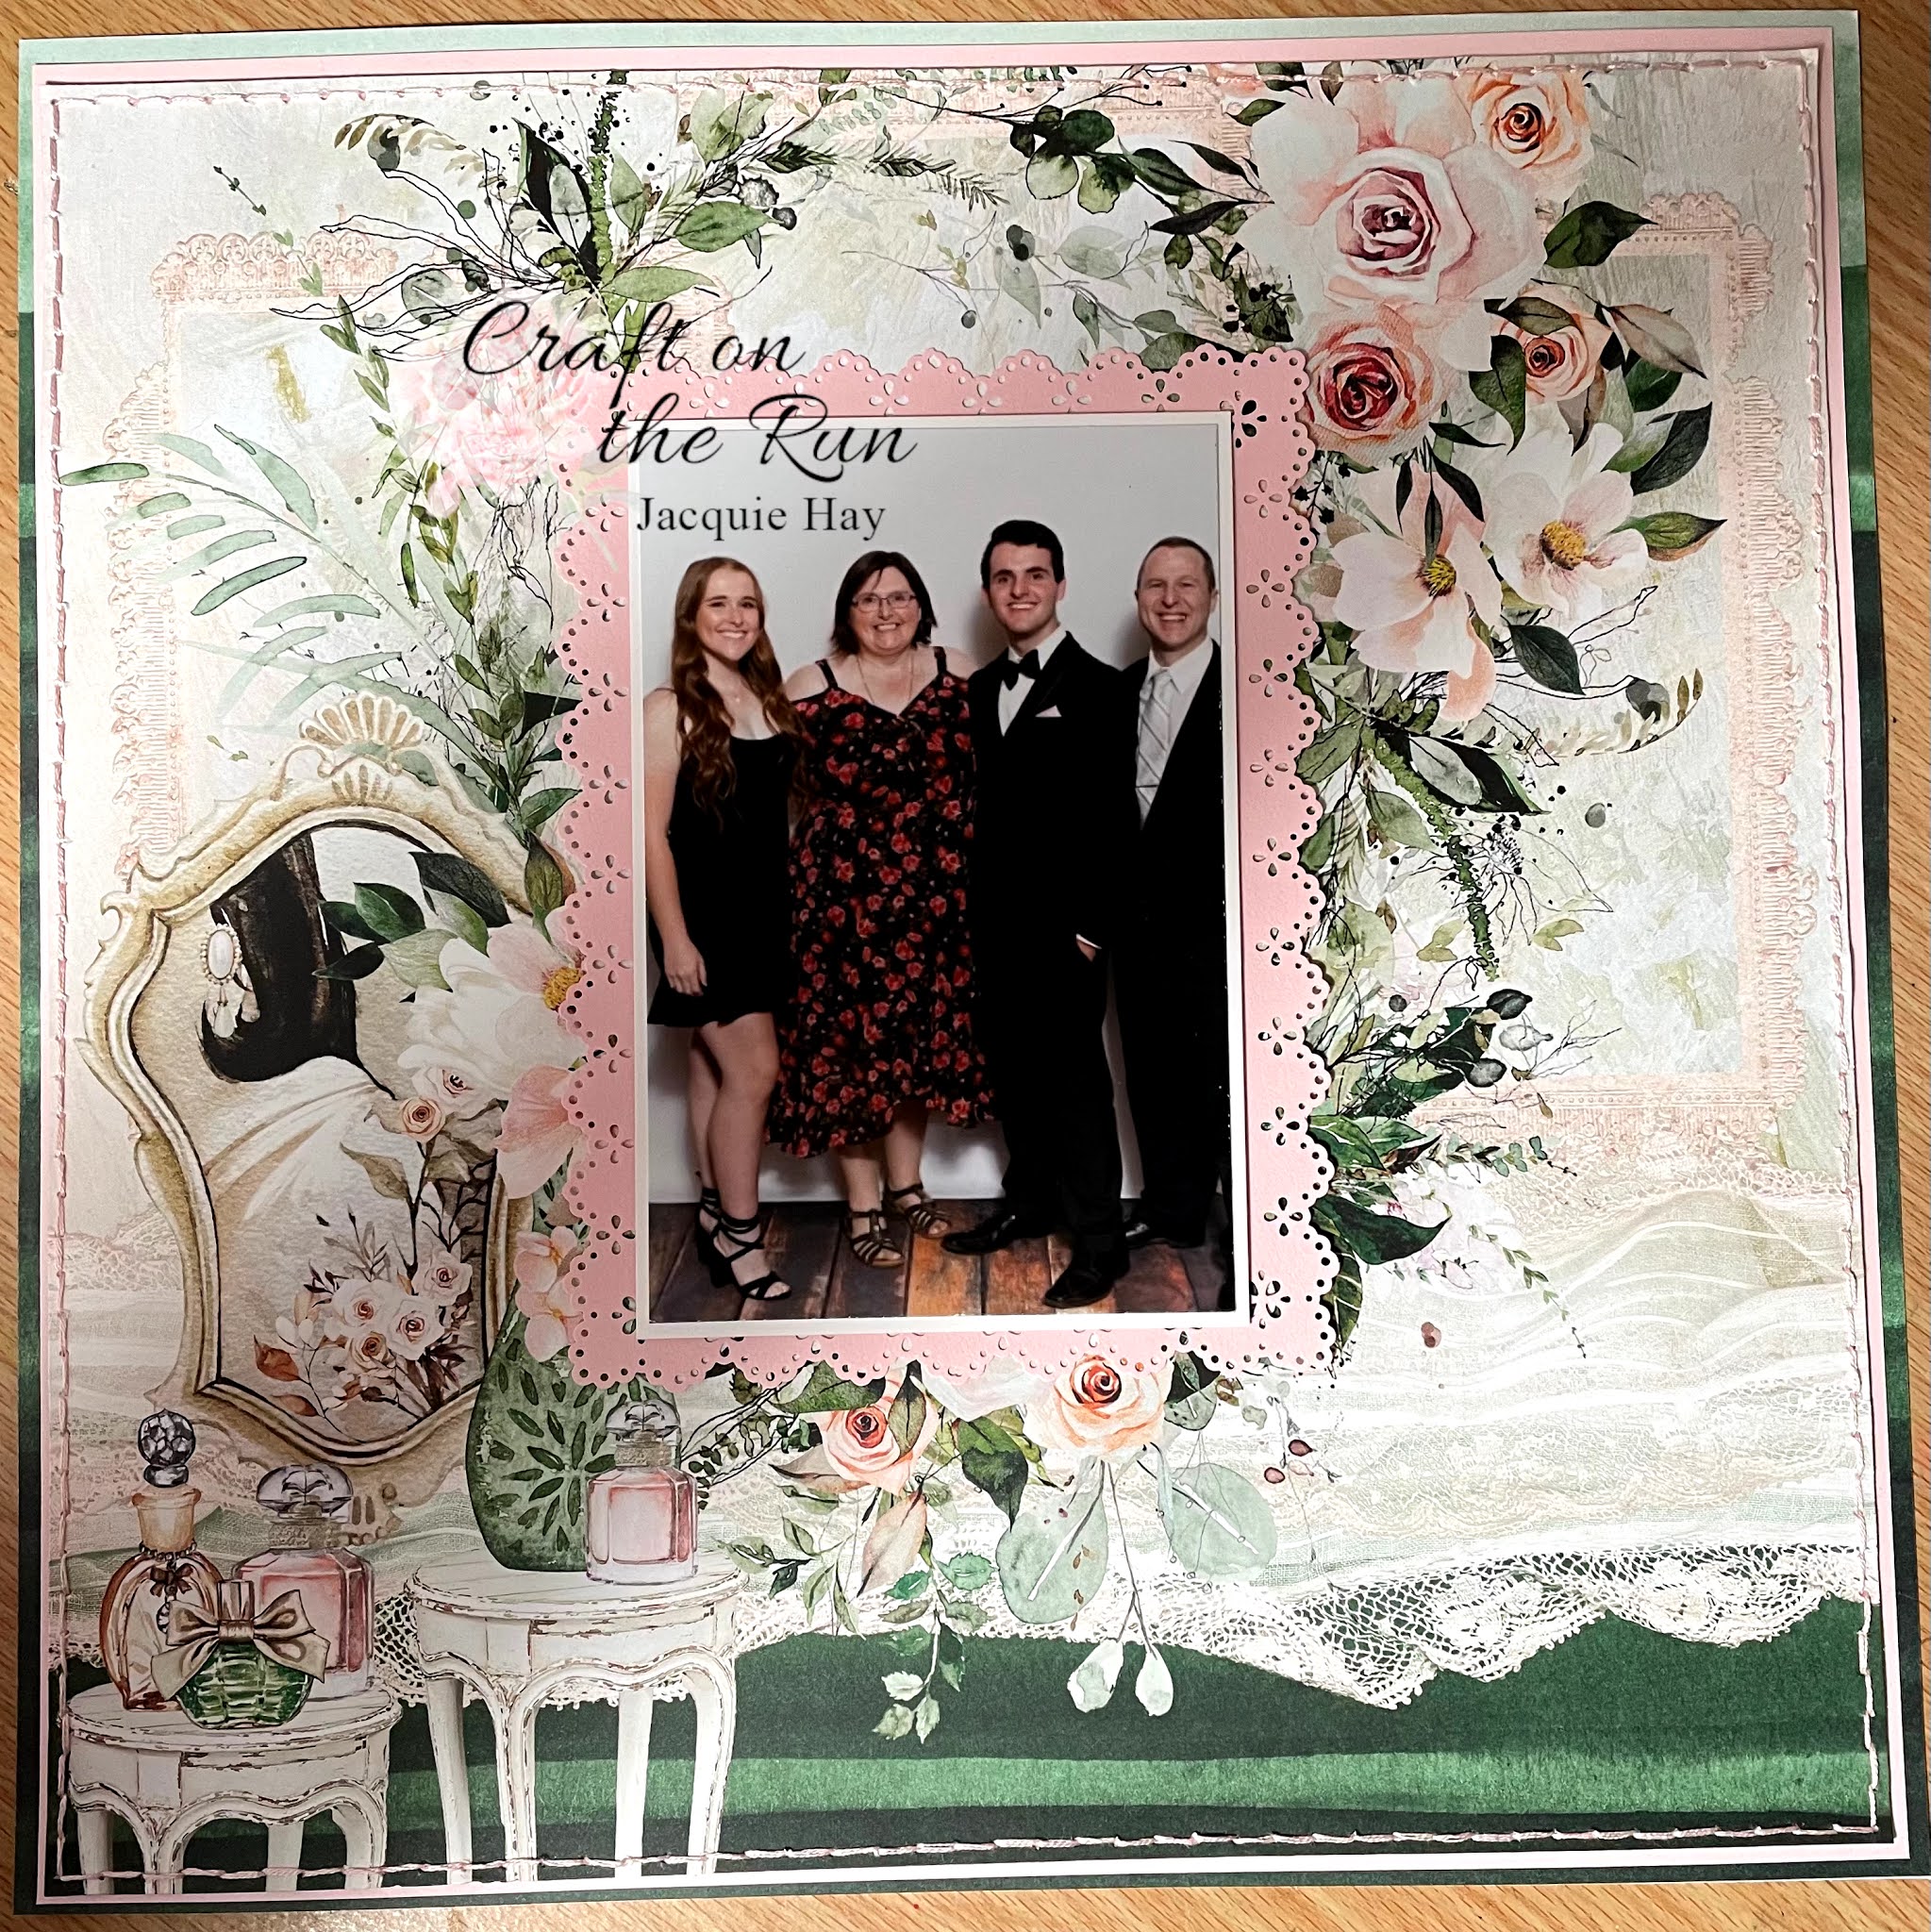
I've been using the Mintay Lady Collection to make a scrapbook layout.


The first thing I like to do with a new collection is fussy-cut the cover sheet of the collection.


The next step is to choose papers for my layout. I chose a couple of background papers. I gutted the centre of the first one.


The next paper I chose, I trimmed to 11.5 inches square and stitched with pink embroidery thread around the edge.


The next step is to attach it to some pale pink cardstock, which I trimmed to 11.75 inches square. I then attached the 3 layers together.


The next step was to make a mat for my photo: I cut a piece of pale pink cardstock and used a border punch to create a decorative edge.


I then attached my photo to the centre of the layout.


The next step is to add some embellishments - luckily, I had fussy-cut the cover sheet previously 😀


The next step was to add them to the layout using foam tape.


I also added a chipboard title and frame from Uniquely Creative's Tranquility Laser Cut Collection, and Uniquely Creative's White Flowers.

This photo below is my finished layout.


Here are some close-ups so you can get a better idea of the textures and layers.


The images below are linked to their product pages in the Craft on the Run online shop: 


Stay tuned for more tutorials throughout the month, and don't forget to try a tutorial and share with us to have a chance to win some Mintay goodies for yourself!


Till next time, have a creative day - Jacquie.


Wednesday, 14 July 2021

Mintay Urban Jungle- Welcome to the Jungle

                                   Mintay Urban Jungle- Welcome to the Jungle

 Good Morning Everyone, 

Debra here again, time for my first July share using the beautiful Mintay Urban Jungle Collection. 

We all love Mintay Papers but often they are so stunning that sometimes we don"t know what to do with them, so the Craft on the Run Design Team is here to help with how they approach these collections so you have the confidence to use these papers. 

As an added bonus and to encourage you to play along and give these tutorials a go we are doing a Mintay Giveaway....


Create a project based on any of the tutorials and share in the group/album telling us which tutorial you used and you go into the draw to win some stunning Mintay papers.

 Your creations must be based on the design Team tutorials and must use any Mintay Collection

                                                                What do You Think?

                                                                Want to give it a go?

              If you are ready to Share follow the link below and add your creation in the album

                              http://www.facebook.com/media/set/?=oa.349740519890610

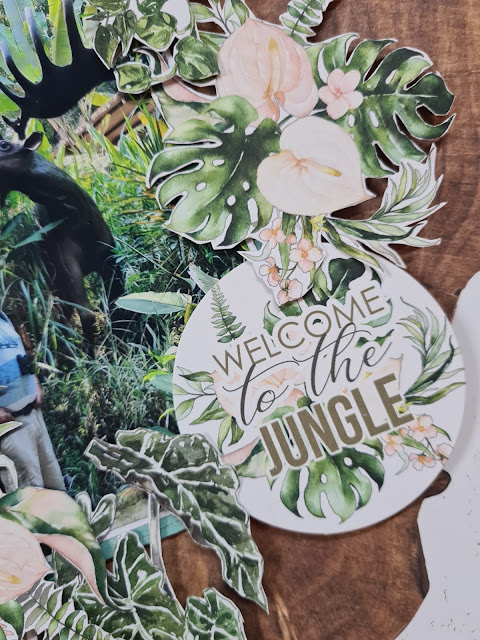
Now for my layout, firstly the Mintay papers have numbers on their branding strip, numbered 1 to 6, I will refer to the papers using these numbers. Firstly I fussy cut the pieces I wanted from the fussy cut sheet , i have circled the ones i used on this layout.


Next I gutted the No.2 green background sheet, giving me a one inch frame and a 10 inch square.


Next I trimmed quarter of a inch from all sides of sheet number 1, giving me an 11 1?2 inch piece that i adhered to my green frame.
 I chose a frame that I liked from sheet 6, cut it diagonally. I mounted my photo on white cardstock ,then double mounted it with the frame IMintay had cut diagonally.


I them attached the photo to my layout background, using cardboard behind the photo to add dimension. i then played with layering my fussy cut pieces, adhering then with dimensional tape when I was happy with the placement.


Next, I pulled a few chipboard pieces from the chipboard sheet and added them to the layout


Lastly I did a little stamping on my background using archival ink and a grid stamp, ten a freehand pen line around the page. My page is now complete.


                                                                    Products Used


 MT-URB-06 Urban Jungle 


                                    MT-URB-10 Cardboard stickers-  Mintay Urban Jungle


                                                        MT-URB-02 Mintay Urban Jungle