
Well my Crafty Friends, here we are a month away from Christmas.
Is it just me or has this year just flown past?
Speaking of Christmas, Studio 73 has an absolutely gorgeous
Christmas Collection - Australian Bush Christmas.
With beautiful little Australian animals featured alongside Santa.
There's so much detail on the page, you don't need to do too much to make a fantastic layout.
So here for you today I've made a 2 page layout, so grab your fussy cutting scissors we're going to give them a workout.

Studio 73 - Australian Bush Christmas Collection is jammed packed full of possibilities.
Advent Calendar sheets, 4 x 4 images to make journals, postcard size pictures to make cards, tags and pockets and your 12 x 12 sheets for your layouts.

I chose 2 of the 12 x 12 sheets - Merry Christmas Skippy and Santa We Have Been Good.
Both sheets have quite a bit of detail so, I decided to accentuate the elements.
*You will need 2 sheets of each; that way you can cut some of the images out to create dimension.
1. Fussy cut as many elements as you like from your second sheet of Merry Christmas Skippy so you can layer over the top to add dimension to the image already on the page.
*Elements below that I cut from 2nd sheet of Merry Christmas Skippy.

2. Once you have your elements begin to layer over the top of images already on your original sheet.
Adding only sections of an image gives you a paper toll effect.
Add the top half of the Santa and his Santa Sack, the bonnet and car windscreen and the post box and fence.


3. Add the Kangaroo with bag of toys and the lamp and Kookaburra.

4. Add to the top left hand corner the Poinsettia and add the extra bells just as a filler.

5. Now cut 2 pieces of the wood panel from the Aussie Advent Calendar page
to 3 1/2 x 5 1/2 and offset them and adhere to page.

6. Mat your photos - I chose to use two photos, but you may like to only use one.
Adhere to page over the wood panel pieces.

7. Add some elements in the centre of the 2 photos at the bottom to give it some interest and finish off.

That completes the first page.
Now to start on the second page.
8. Page 2 : Santa We Have Been Good.
Cut elements from 2nd sheet and also from ABC Fussy Cutz Page.

9. Now start from the top adding on foam mounts the Merry Xmas, Poinsettia, bells and bow.

10. Working down the page add the Kangaroo, Koala and Echidna.

11. I only added the hat and bell to the Platypus here.

On the Left hand side of the page, my idea was to completely cover the Santa Clause as the image was the same as the Santa on page 1; as I didn't want another Santa I added all my elements over the top to cover him.
Only enough so that you can still see the map especially as I wanted to pin point Perth on it.
12. Add the rest of your fussy cut elements over the top of the Santa - some are glued and some are on foam mounts to add dimension.

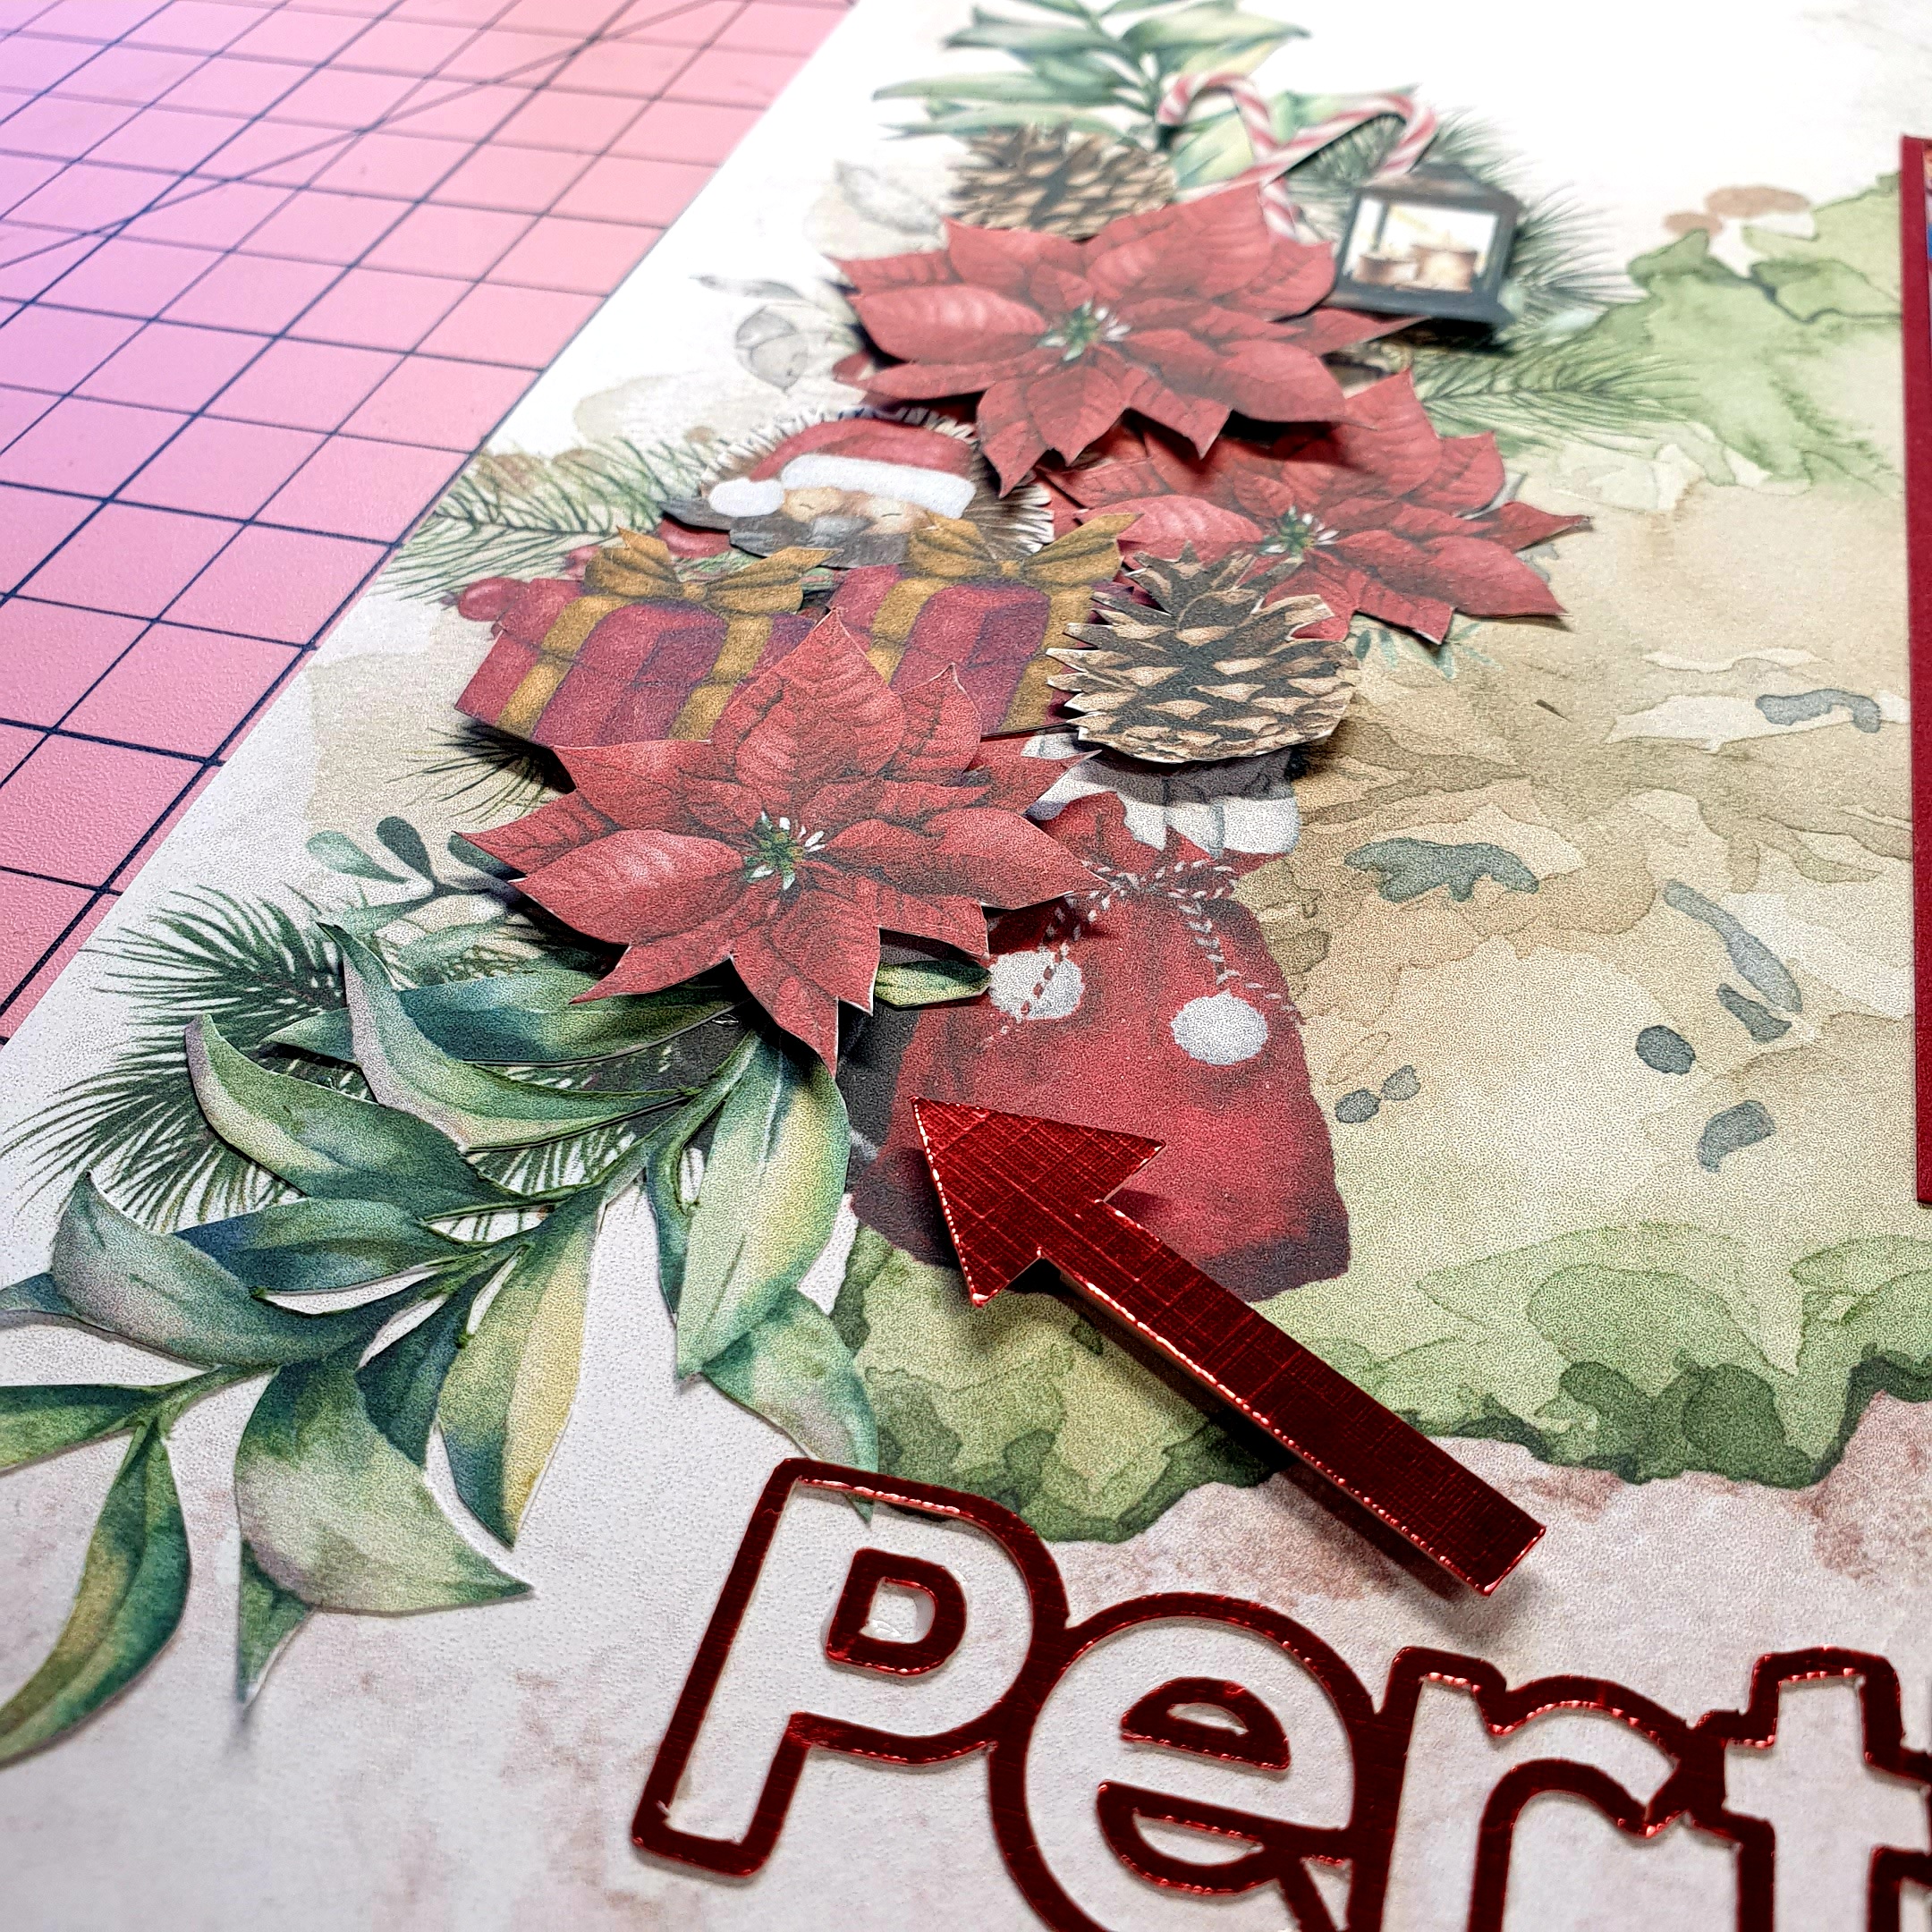
13. Using letter dies or a Cricut cut out the words Perth; or whatever state your in and an arrow to add to your page.


That completes your second page.
*****


Well my Crafty Friends, I hope you enjoyed my 2 page Christmas layout.
On that note,
I wish you all a very Merry Christmas and Happy New Year for 2023.
I'd like to thankyou all for joining me on my first year of my Design Team journey, its been great to share this opportunity with you and I hope I gave you some inspiration and ideas.
Until next year
Happy Crafting
Safe and happy holidays.
Niki


No comments:
Post a Comment